
3 Piston Engine
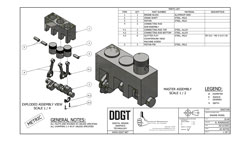
This is the 3 piston engine project that I created based on a concept engine model. I used Inventor to model the assembly and 3ds Max to animate and render it. I had to customize the model by designing the engine block, including a crankshaft handle, and adding my name and logos. After finalizing the model in Inventor, I imported it into 3ds Max to begin the animation process. In there, I rigged the assembly to control how each part would move during animation. To do this I added bones to the pistons and connecting rods, then linked them to the rotating crankshaft. Then I moved onto the presentation part, including lighting, cameras, an environment, and materials for the model. When that was completed, I used the ART renderer to render out the animation frame by frame. From there, I turned to Premiere Pro to turn the rendered frames into a video format. In this program, I included video transitions to make the animation run smoother, and added titles and backgroud music. When the animation was finalized and done, I then had to design a physical 3d printable version of my engine model. The difficulty came with having to create specific spacing and tolerances in-between every part in the assembly. The model was printed in one solid piece, so it had to be designed in a way where it could still function properly. After being reviewed and revisioned multiple times, the model passed inspection and went on to be physically printed. This was a great project because it allowed me to design and animate the project as I saw fit with full freedom. From this project I able to develop new techniques in creating projects, and sharpened my overall skills in digital design.
This is the 3 piston engine project that I created based on a concept engine model. I used Inventor to model the assembly and 3ds Max to animate and render it. I had to customize the model by designing the engine block, including a crankshaft handle, and adding my name and logos. After finalizing the model in Inventor, I imported it into 3ds Max to begin the animation process. In there, I rigged the assembly to control how each part would move during animation. To do this I added bones to the pistons and connecting rods, then linked them to the rotating crankshaft. Then I moved onto the presentation part, including lighting, cameras, an environment, and materials for the model. When that was completed, I used the ART renderer to render out the animation frame by frame. From there, I turned to Premiere Pro to turn the rendered frames into a video format. In this program, I included video transitions to make the animation run smoother, and added titles and backgroud music. When the animation was finalized and done, I then had to design a physical 3D printable version of my engine model. The difficulty came with having to create specific spacing and tolerances in-between every part in the assembly. The model was printed in one solid piece, so it had to be designed in a way where it could still function properly. After being reviewed and revisioned multiple times, the model passed inspection and went on to be physically printed. This was a great project because it allowed me to design and animate the project as I saw fit with full freedom. From this project I able to develop new techniques in creating projects, and sharpened my overall skills in digital design.
This is the 3 piston engine project that I created based on a concept engine model. I used Inventor to model the assembly and 3ds Max to animate and render it. I had to customize the model by designing the engine block, including a crankshaft handle, and adding my name and logos. After finalizing the model in Inventor, I imported it into 3ds Max to begin the animation process. In there, I rigged the assembly to control how each part would move during animation. To do this I added bones to the pistons and connecting rods, then linked them to the rotating crankshaft. Then I moved onto the presentation part, including lighting, cameras, an environment, and materials for the model. When that was completed, I used the ART renderer to render out the animation frame by frame. From there, I turned to Premiere Pro to turn the rendered frames into a video format. In this program, I included video transitions to make the animation run smoother, and added titles and backgroud music. When the animation was finalized and done, I then had to design a physical 3D printable version of my engine model. The difficulty came with having to create specific spacing and tolerances in-between every part in the assembly. The model was printed in one solid piece, so it had to be designed in a way where it could still function properly. After being reviewed and revisioned multiple times, the model passed inspection and went on to be physically printed. This was a great project because it allowed me to design and animate the project as I saw fit with full freedom. From this project I able to develop new techniques in creating projects, and sharpened my overall skills in digital design.
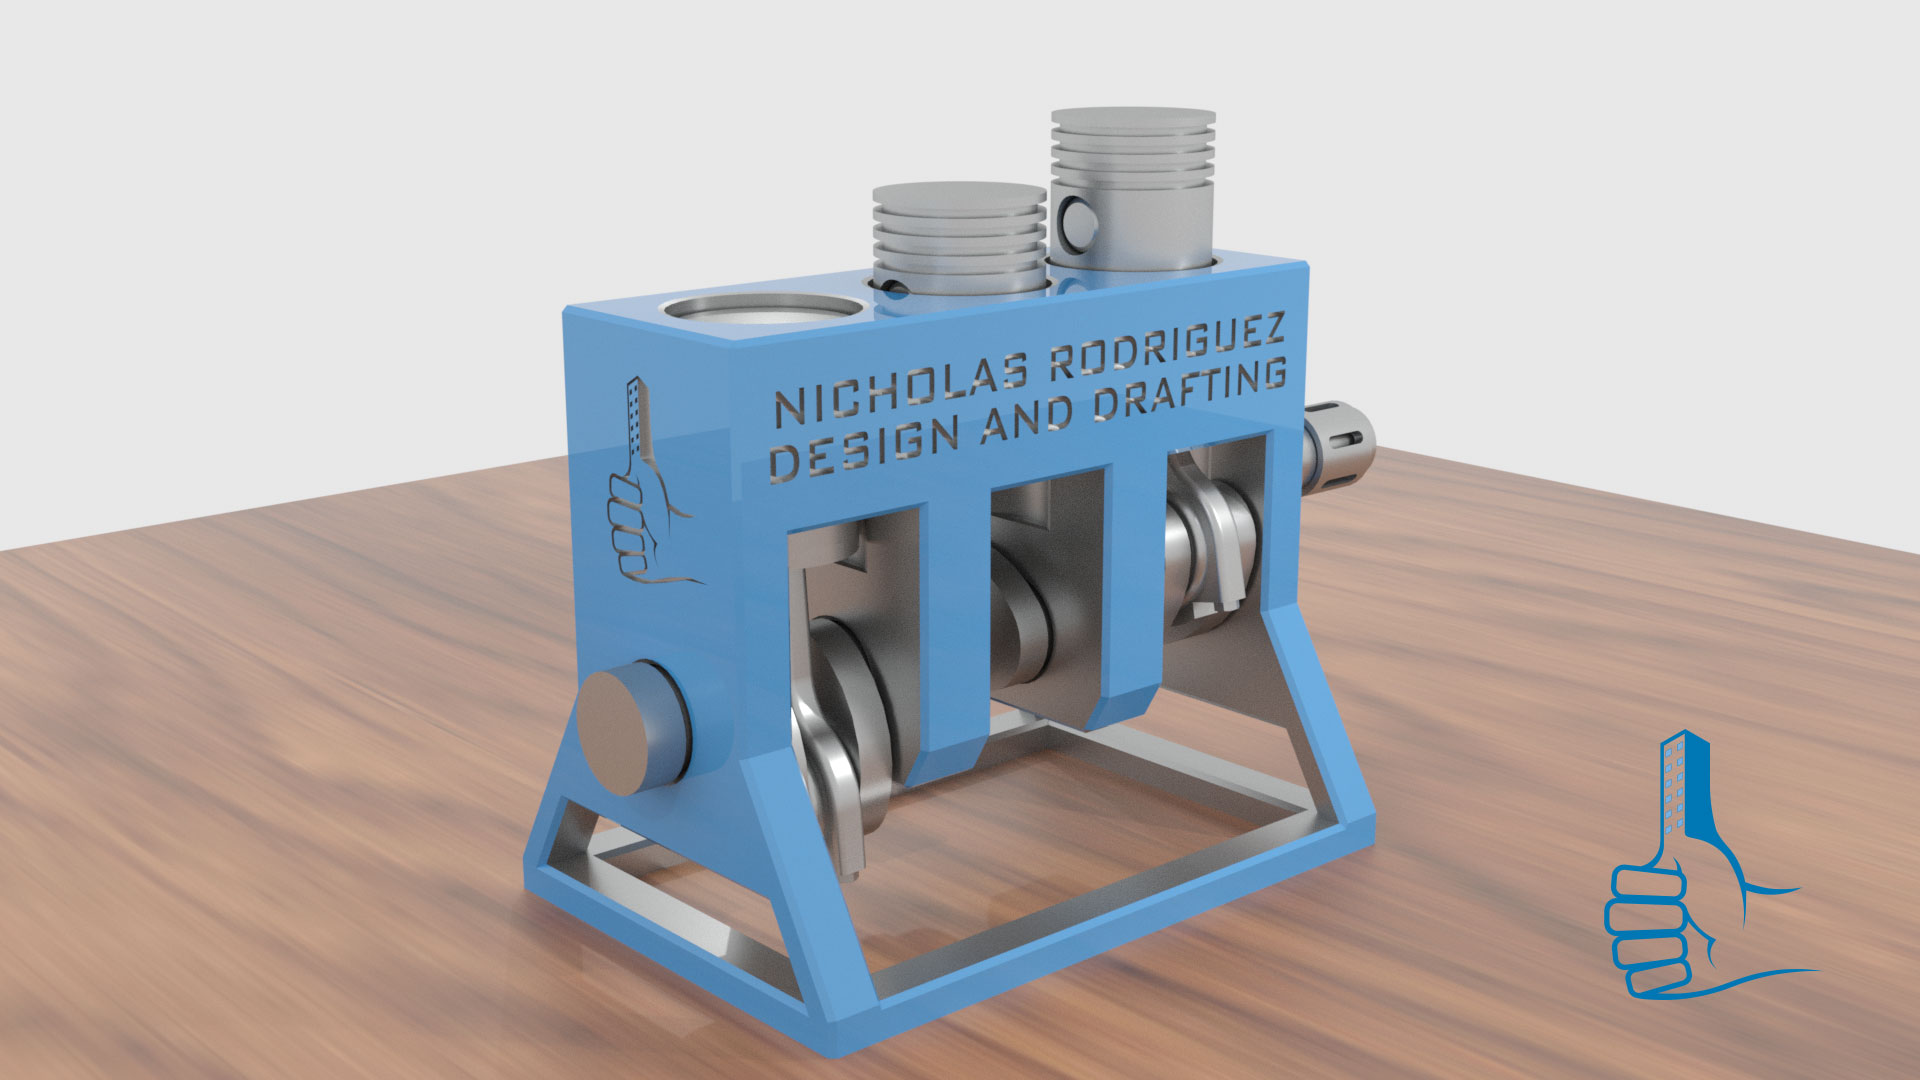 Engine Isometric View |
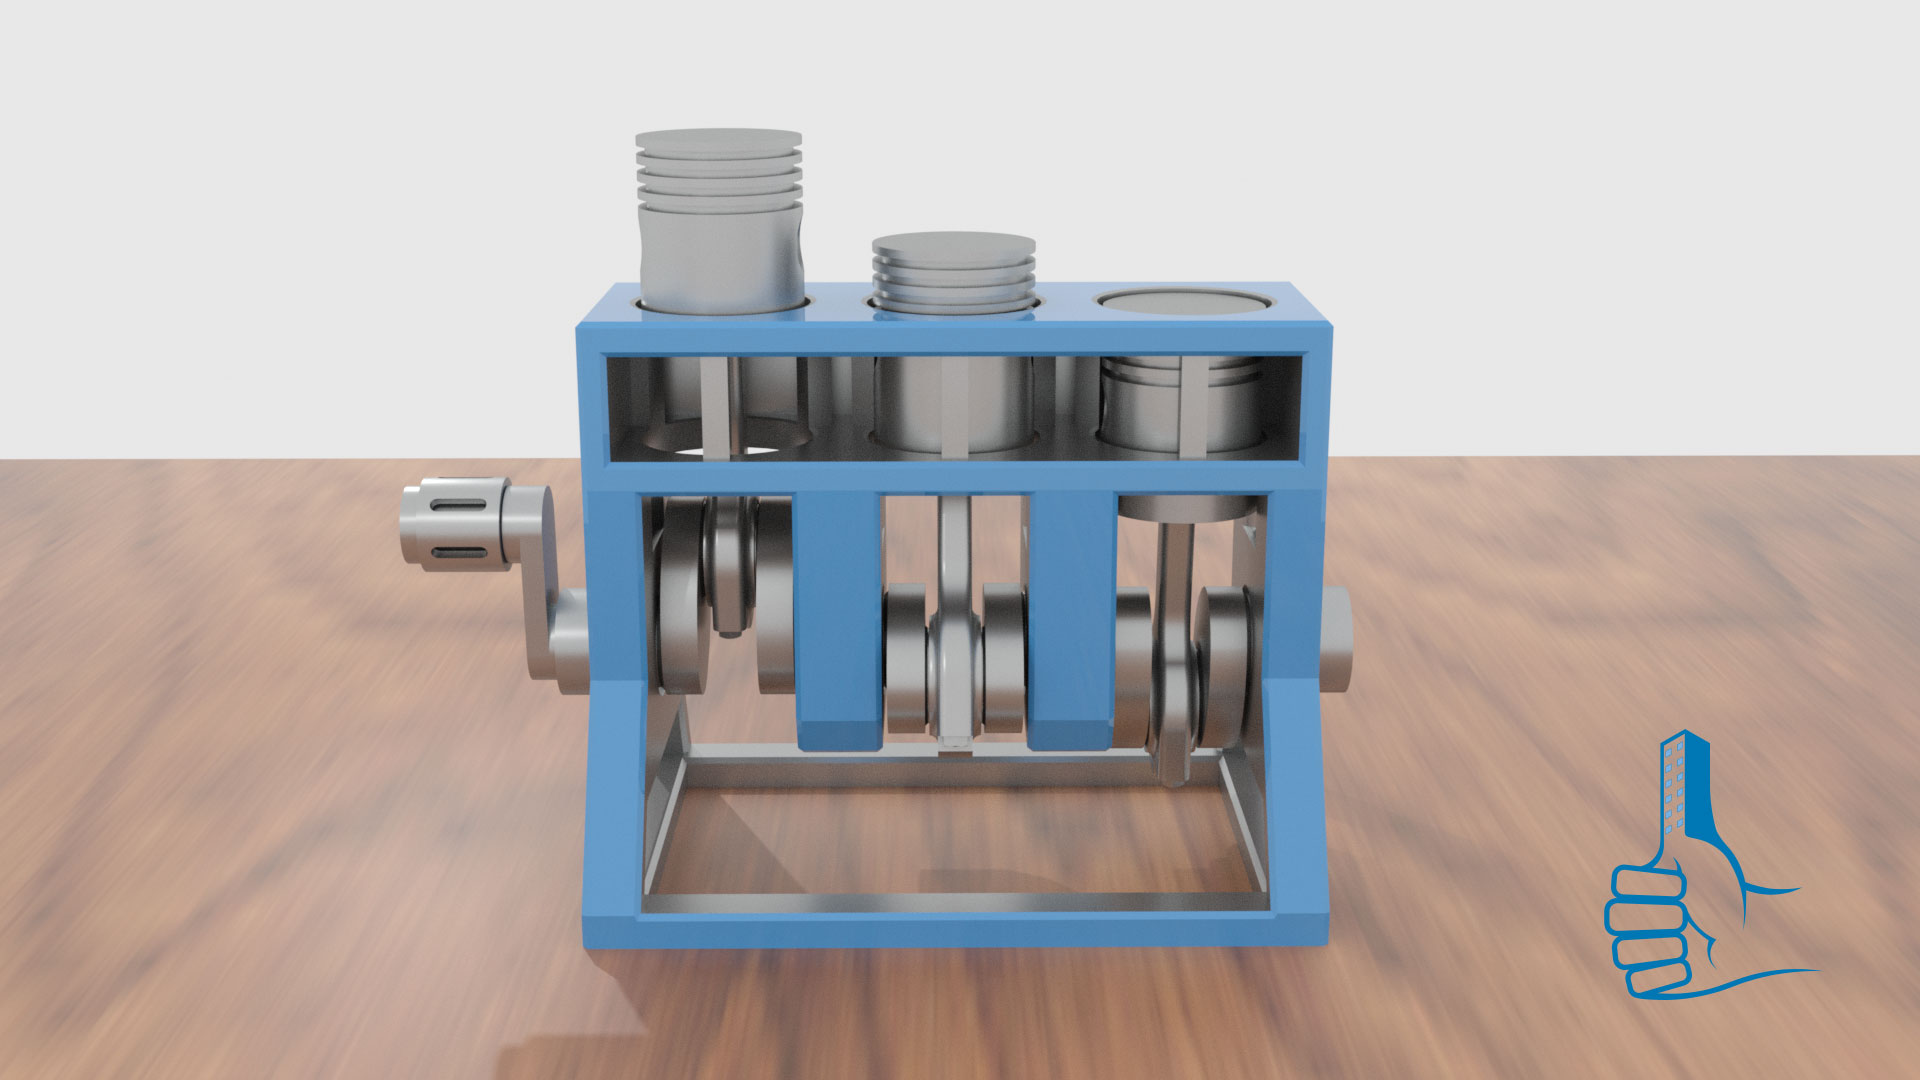 Engine Back View |
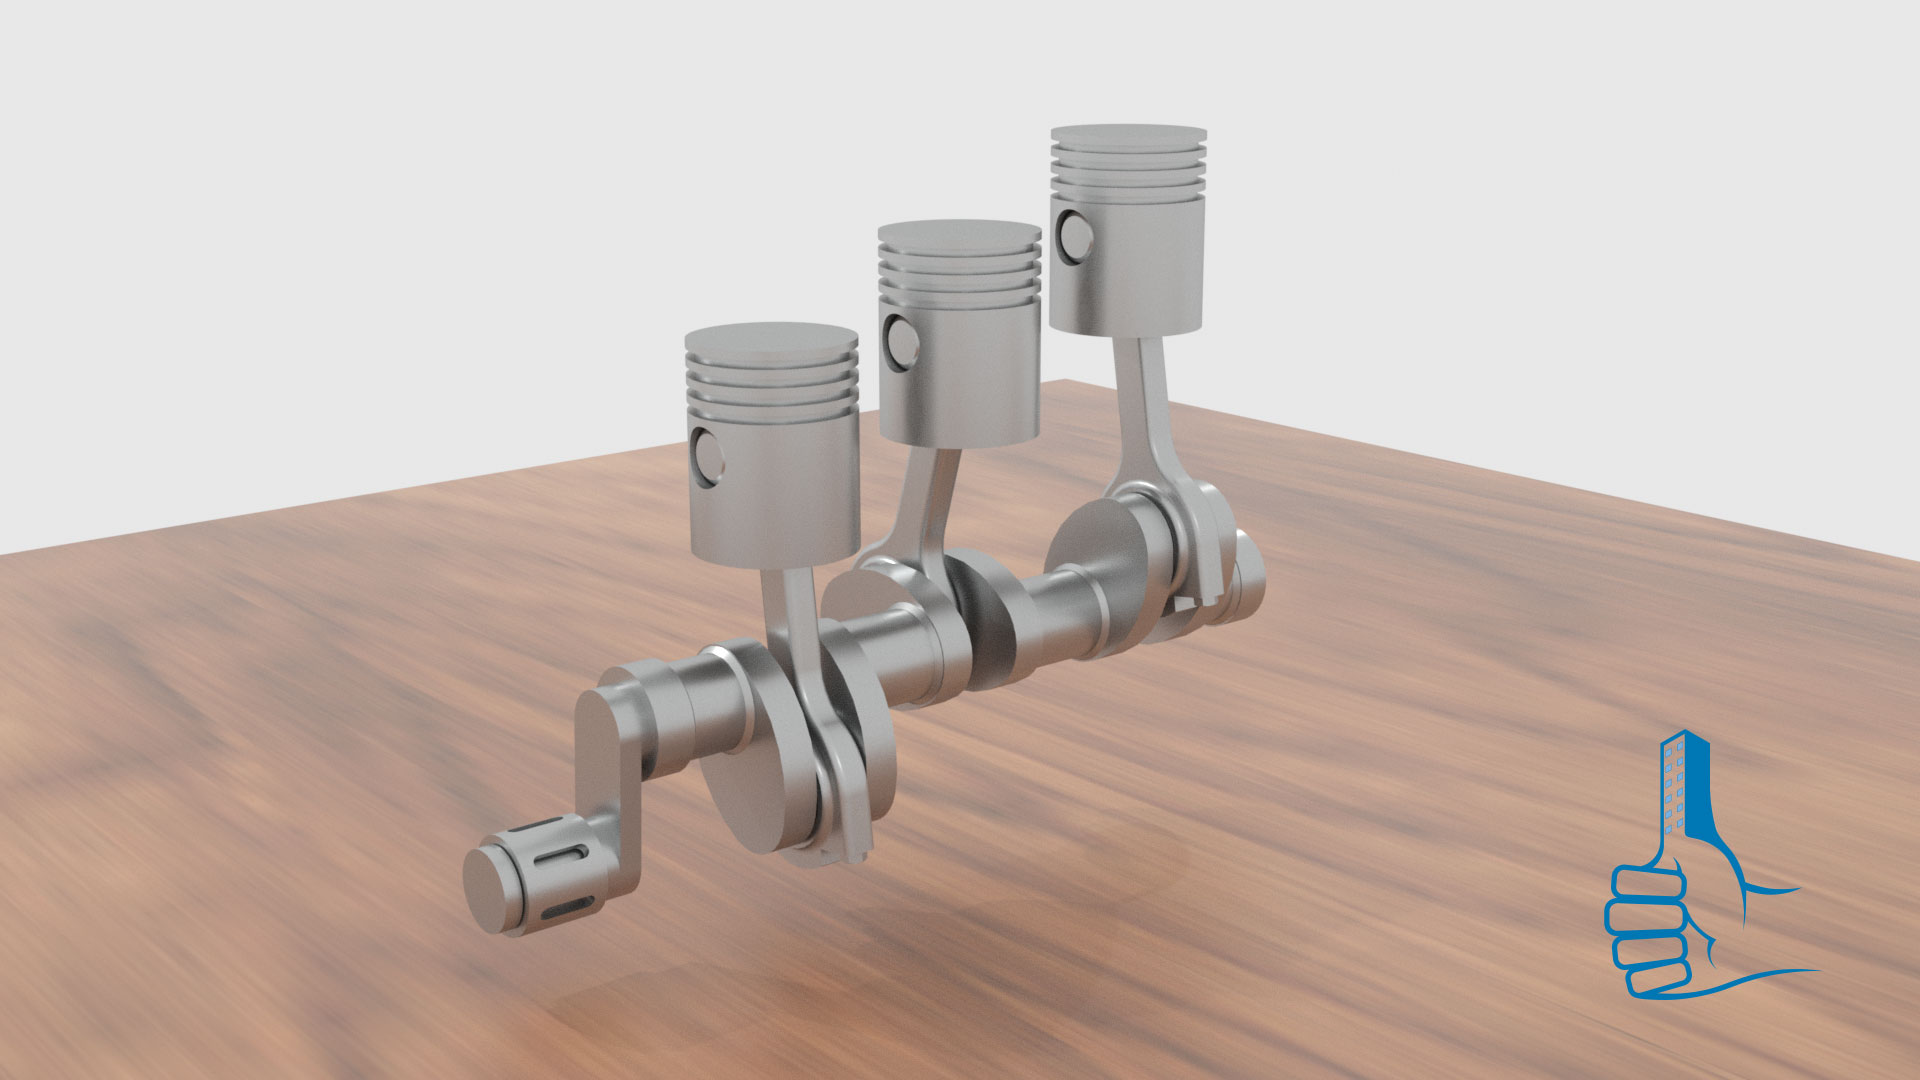 Crankshaft Isometric View |
3 Piston Engine Animated Video